Mosaic Quilt

This is my mozaic quilt so far. I'm in the process of sewing each row and column. 

This is how I made my pattern. I printed a black and white photo onto lined graph paper. Then I made a cheat sheet of my fabric in black and white as well. Then I matched the fabric shades to the photo shade. The part that I wasn't happy about was the chin area. There appears to be too much light coloring. In the future, I'll have to watch for such a problem to avoid it. I'll doctor it up a bit with slightly darker shades to create more dimension in the mozaic. 

When I matched the fabric to the photo, I wrote down the letter or number that corresponded with the square on the photo. I wrote letters and numbers on the organizer. I kept the fabric squares in a bead/jewelry organizer. 

More to come later. 


Sewing hacks

Here are some of my favorite sewing hacks and tips. 
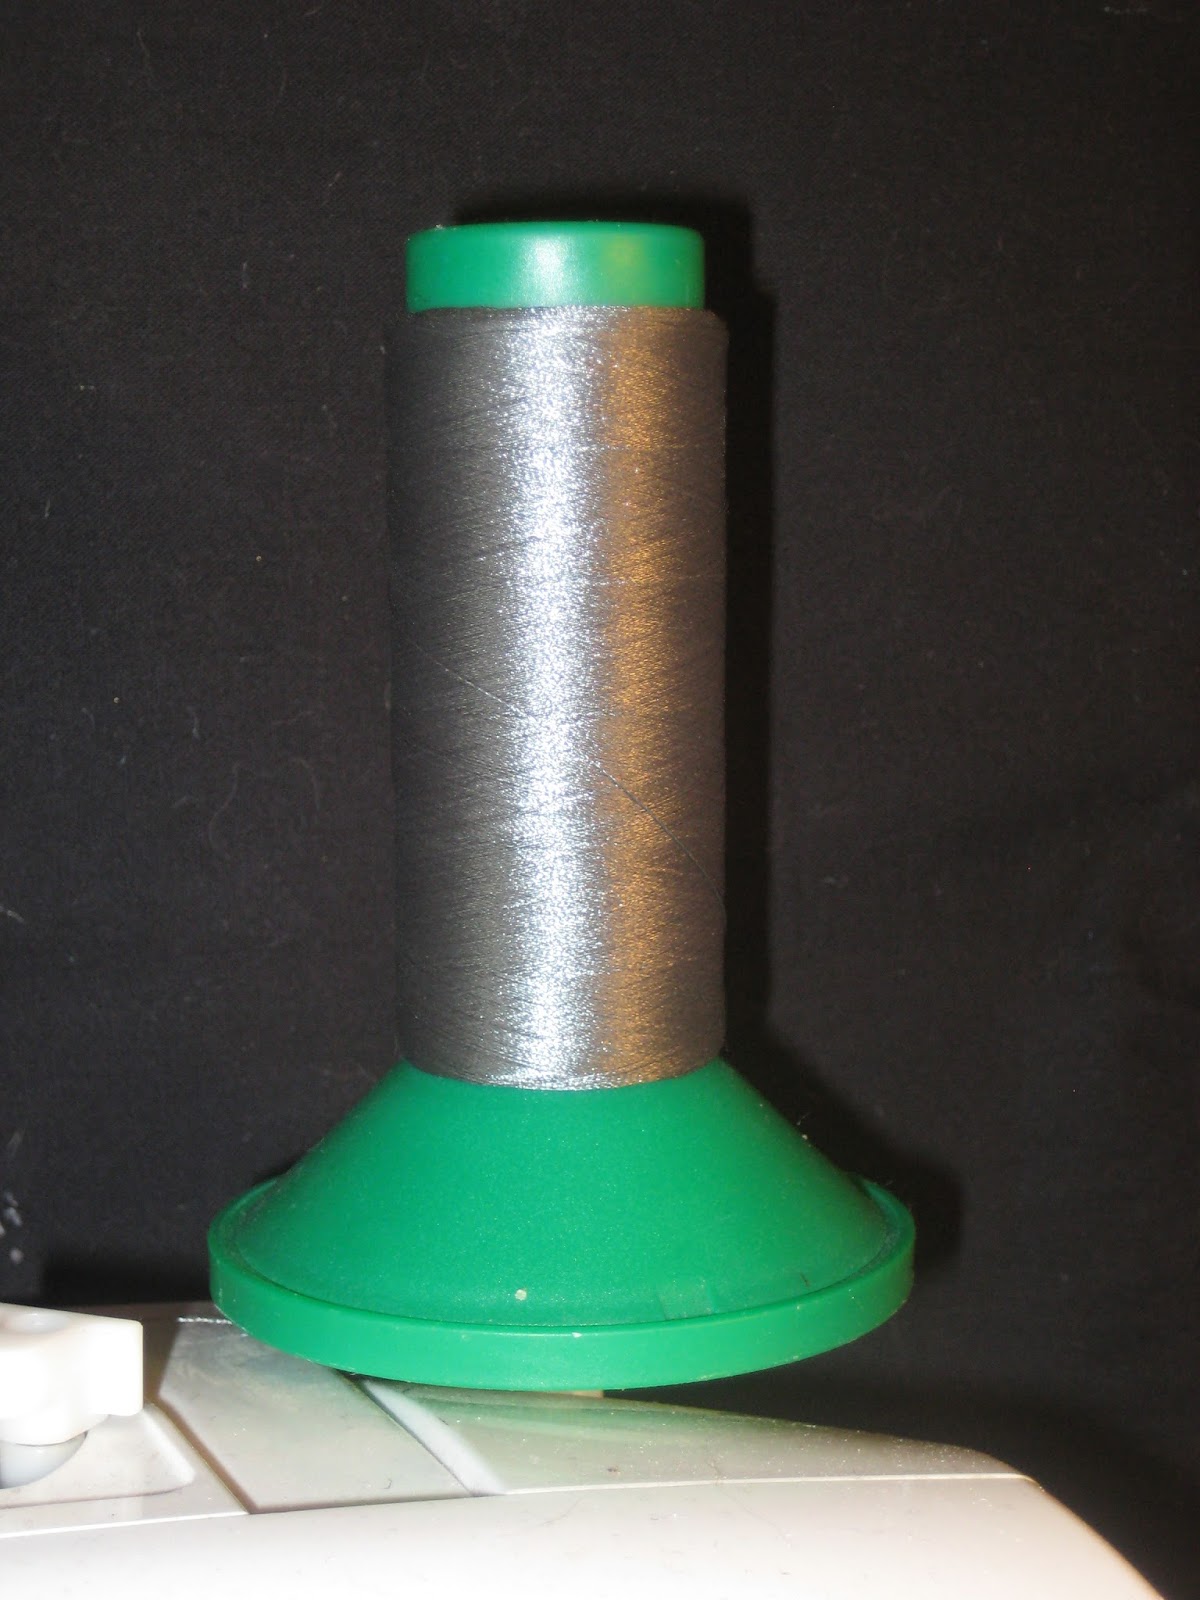
 This is the spare spool holder on my machine. I place a large cap on the bottom and then one of the smaller ones near the top. 

 Then I can use it for a spool that is too large for the regular horizontal spool holder. The bottom cap is where the spool rests. The smaller cap prevents the spool from wobbling. 

Sometimes, I forget to remove a pin and then hit it with my needle. If I pin my projects parallel to the foot, then I don't need to worry about removing them because the pins don't get near the needle and I never hit the pins. 

Pumpkin Carving

 I carved pumpkins again this year. I used a Drummel tool with the carving bits to do my pumpkins. 

 This one is supposed to be a dog. I traced a photo of one of our dogs, but I had trouble. The tracings either looked like a teddy bear or a pig. I tried several times and then decided this would have to do. 

 I found this pattern on Pinterest. After I finished carving it, I dropped the pumpkin and the mouth area fell off. I had to fix it with toothpicks. You can see one of the toothpicks if you look closely. 

 I used a photo of one of our cats to make this template. This is my favorite pumpkin this year. 

 This is the photo that I traced of our cat, Mystique. Not all her tabby coat markings are on the traced paper, but this gave me a good starting point. 

 This is the cat template. I used an Exacto knife and cut out the carving areas. Sewing pins tacked the paper onto the pumpkin and I marked the lines with a red Sharpie fine point marker. Notice that not all my lines meet. 

 Last year, my hands were sore trying to scrape out the pumpkins so that the Drummel tool could cut deep enough for the light to show through. This year, I ordered this from Amazon. It was much easier and a lot quicker to scrape down the pumpkins.