Here are my mason jar covers. We buy bulk honey from the health food store and put it in canning jars so we don't need the plastic containers that they offer.
For the project, I used a large mouth canning jar, gold fabric, and black fabric. Ignore the cat. She wanted to investigate my project.
This jar measured 12 1/2 inches. With seam allowances and wanting enough room to hold the jars without the cover being too tight, I rounded up to 14 inches to cut my fabric.
The jar's height measured 6 1/2 inches. With seam allowances, I rounded up to 7 1/2 inches to cut my fabric.
I started with the handle. Cut a strip 4 inches wide by 16 inches long. Fold in half lengthwise and press. Open and fold the sides to the inner pressed seam. Press again.
Then fold your strap over again. Your strap should now look like the above photo and it should measure 1 inch wide.
Sew along the sides to hold the strap closed.
Since I wanted to make my jar cover look like bee stripes, I cut strips 1 1/2 inch wide by 14 inch long. I cut 4 strips of the black fabric and 3 strips of the gold fabric. Sew a yellow strip to a black strip. Set the seam with a hot iron.
Press the strip open to the dark side. Sew the rest of the strips together alternating the black and gold strips. You should end up with a block of fabric 14 inches by 7 inches.
Cut a piece of batting 14 X 7 inches. Cut a piece of fabric for the bottom 14 X 7 inches.
Layer the top and bottom fabric right sides together. Add the batting on top of those pieces and pin all layers together.
Sew the layers together at the top.
Fold the back piece over and press in place. You should now have a finished top edge. Fold in half, right sides together, so the raw edges of the sides meet. Sew and you should now have a circular tunnel shape with a finished top edge. Do not turn. Leave so the right sides are facing in.
To create the bottom, I used a wide mouth canning jar. The lid is about the same width as the jar. I drew a circle and added about 1/2 inch seam on the outer edge.
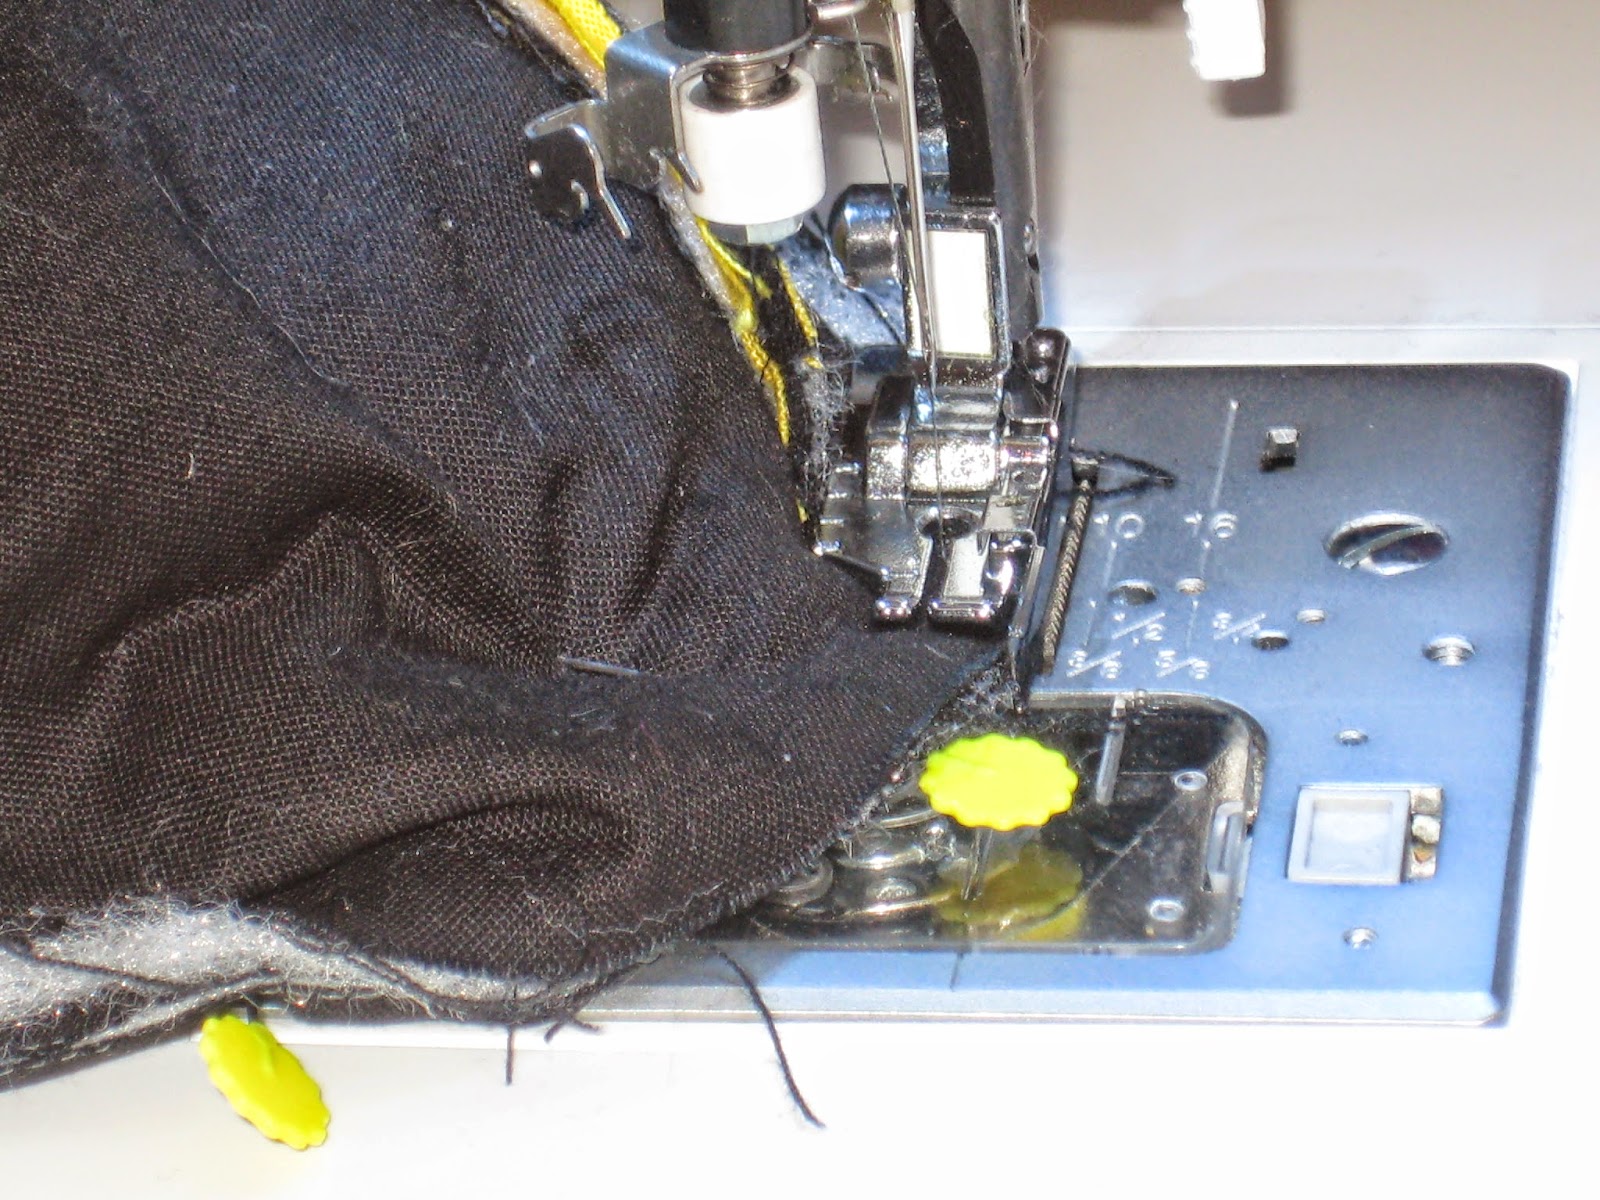
Layer the top, batting, and bottom together. Place the circle on the layers and pin in place. Sew around the circle.
You should have a circle on the fabric like the photo shown above. I do this extra step because when I am working with so many layers, pinning can be difficult. If I sew the bottom section, I don't need to worry about the layers of that section slipping.
Cut out your circle. Do not cut through the stitching line. This is your bottom piece. The bottom piece above was cut with 1/8 of an inch border outside the stitching line.
Pin the bottom section to the circular tube. The right sides should be facing in. Sew together. Do not turn inside out, yet.
Sew the handles to the bag. The inside of the bag is still facing out (right sides together). Pin and sew in place on both sides of the cover. After sewing the handle in place, turn the jar cover inside out.
I reinforced the handle by sewing a box and then an X inside the box.
You now have a finished jar cover. You can use jar covers to create a theme for gift giving. Imagine giving hot chocolate, teas, or other jar gifts with a fabric cover that adds to the festivities.
 I sewed a sleeve with a drawstring closure that fit over the container. The lip of the container prevents the sleeve from slipping off. It can be removed for washing. The container on the left does not have the safety cap. The glasses inside were too long, thus the need to make something that could hold and protect the glasses from being crushed.
  I made two. One can keep my reading glasses safe in my purse. The other can keep my other reading glasses safe in the house.
  I also wanted to share what I am doing with my "independent" blocks. I think "orphan" blocks sound sad so I call them "independent" blocks. I will make pet quilts to donate to the local pet shelter. This one would have been donated, but our dog, Jedi, liked it and wanted it. Of course, I gave it to him. :)