A Hidden Path to the Wild Side

I decided to name this quilt, Hidden Path to the Wild Side, because on one side,  I used the pattern for Hidden WellsHidden Wells Tutorial ), which is how I got the "Hidden" part of the name. I also used a wedge template to get a curving "Path". Finally, I used cheetah print fabric in the quilt. Thus the "wild". 


Here is the Hidden Wells Pattern. Once I took a photo of the other side, the dogs ran over and I couldn't get them out of the shot, so I gave up. 

This is a close up of one of the corners and it shows the fabric better. On the Hidden Wells side, I quilted in the ditch. Then on the curving side, in the middle, I followed the curves echoing the seems. On the edges, the above image, I quilted in the ditch down the straight part of the the wedge section.  

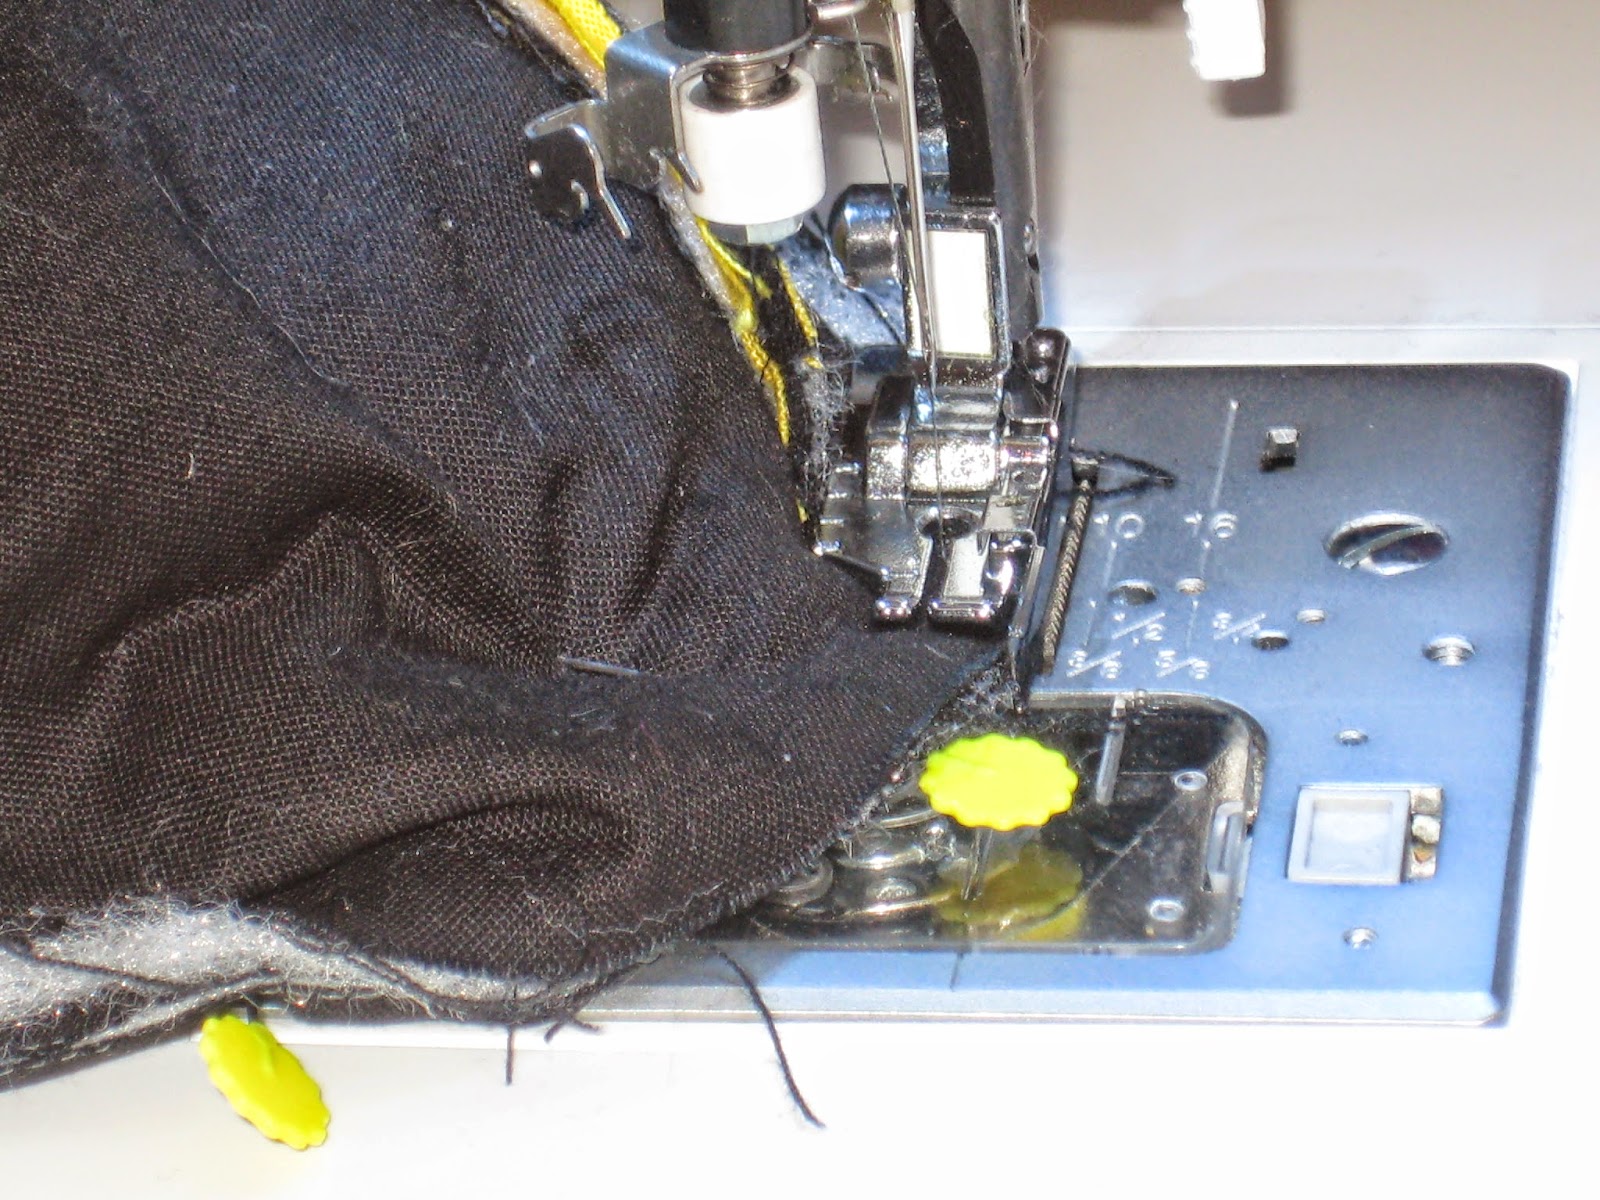
This is one of my patches. This is how I covered up some of my mistakes. I tried taking the quilting out three times as I repeated to make mistakes almost in the same spots. I couldn't eliminate the wrinkle and puckering, so I decided to hide the mistakes instead of ripping the thread out until I got it right. I might never have gotten this quilt finished with that method. 


Low Carb Breakfast to go

I got this idea from the internet. Use cupcake tins to bake eggs to make them round, like a biscuit. Then wrap the finished "biscuit" in wax paper and they are ready to go. 

You can add anything to the eggs, much like an omelet, even bacon. I used the large muffin tins, instead of the regular cupcake tins, and used two eggs for each biscuit. 

With the large muffin tins, it took 35 minutes to bake at 350 degrees. 


Candy Santa Sleighs

 I decided to try my hand at a candy Santa Sleigh. 

I started with the above list. For each sleigh, you will need: 2 candy canes, 6 Hershey Nuggets (or other rectangular candy) 1 Kit Kat, and hot glue. 

After I bought those, I found a bag of candy called Santa's Super Sack by Palmer. It had the Santa and snowman shapes, along with the bells and balls. It also had miniature peanut butter cups, so I stacked them on as well. 

 The hardest part for me was adding the rails. Turn the Kit Kat upside down and hot glue the rails as seen above. Make sure the Kit Kat is near the edge of the desk so the candy canes have space to hang over. 


 Then stack the candy to look like presents. The bottom layer of the presents are six nuggets super glued from back to front in two rows of three. On top of those, are six nuggets glued so they are perpendicular to the bottom six. Then I glued the other candies in different patterns (I couldn't decide which I like best) and added the snow man and Santa to the front to drive. 


Here is a different formation that I also liked. I placed the bells on top of the peanut butter cups and added the balls in front of them. 


Pet quilts

This is one my charity projects, pet quilts/pet mats for our local animal shelter. I tend to use scrap fabric or fabrics donated by people that I know. I just got a great haul of upholstery fabric. 

In the above photo, the center block had matching fabric, used on the corners. Then I found some coordinating sashing. The outer border is made from three separate fabrics. All the fabrics had different textures. Hopefully, the animals find that interesting. 

I discovered that I didn't have the skills to get sharp points with thick upholstery fabric and that my math was off, so the borders do not match nicely on the ends. 

Fireplace Sweatshirt

 I tried to decorate my husband's sweatshirt so it looked like a fireplace. It is a pocket that holds our Kindle. 


Here is it with the Kindle. 

Casserole Slow Cooker


I got a new Crock Pot. I love slow cookers and my newest is a rectangular one designed for casseroles. I read the reviews and some had trouble with cooking times. I didn't have any trouble, but I did forget to reduce the liquid and you can see I have a bit of soup in mine. 

I made a scallop potato recipe. I'll give the regular recipe and then what I suggest for the slow cooker. 

Scallop Potatoes
4 large potatoes cleaned, peeled, and sliced thin.
1 pound of cubed ham.
1 1/2 cups of chopped celery.
1 1/2 cups of frozen peas.
1 cup of milk. (1/2 cup if using slow cooker).
1/4 cup of flour.
1 packet of dry onion soup mix.
16 ounces of shredded cheese.

Layer potatoes, ham, celery, and peas in 9X13 pan or slow cooker. Mix milk, flour, and onion soup mix thoroughly and pour over casserole. If baking, then add the cheese over the top. If using a slow cooker, wait until about 15 minutes before the dish if finished cooking. 

Bake at 350 for 1 hour. If using slow cooker, follow the instructions for your slow cooker. For the rectangular slow cooker, my potatoes were cut thick and it took about 6 hours on high. 

Personalizing Lunch Boxes

 I don't sew as quickly as I would like to. So if someone needs a lunch box immediately, I won't be able to sew it in time. I bought a lunch box and then I personalized it for the recipient. 


It was difficult to sew through some parts of the outer material. I didn't cover all of the lunch box because cutting out the odd pieces would have been awkward for me. 

In the future, I may use this idea for personalizing other purchased items that I didn't have time to sew from scratch. 


My First Mug Rug

Here is my first mug rug. It will be a holiday gift for one of my husband's friends. 

I am beginning to lose my interest in novelty fabrics. The only creative part that I did for this mug rug was to add the long white stripe and then add the block of stripes between the helmet and the C on the left side. I really did not know what to do with the fabric as it was rather busy and I didn't want to minimize the Chicago Bears print. 

Doggy Bandannas

 Here is Jedi in his Star Wars bandanna.

 I measured the dog collars and subtracted 4 inches (for tags and clips) so that the bandanna would sit nicely on the collar. That measurement was 10 inches.  

I cut a 12 inch square of fabric, pressed, and sewed for finished edges. 


 Then I centered the ruler and made marks for the 10 inch width. That meant 5 inches from the center crease, pressed with iron. 


 Then I folded the bandanna over on my marks, sewed in place,and trimmed away the excess fabric. The upper right corner shows the folded corner sewn in place. The lower left corner shows the excess fabric trimmed away. 


 Then I folded the fabric in half and pressed. 


 Our dogs' collars are about an inch thick. So the sleeve of the bandanna needed to be wide enough to accommodate the collar.  


 I sewed a line to create the sleeve at 1 1/2 inches.


 I really don't know if Padawan understands what a picture is, but whenever I get my camera he feels the need to pose in his own way. So he had to have his picture taken with his biscuit before he would sit nicely for me to take a photo of his bandanna. 


 Here is Padawan's bandanna. He is cooperating now since I took the previous photo.


 Here is Jedi's bandanna, again.  

Repurposing Pharmacy Bottles and Using Orphan Blocks.

I try to recycle, up-cycle, and re-purpose as much as possible. There are projects to re-use plastic drink bottles by gluing, sewing, and crocheting. I decided to use pharmacy bottles in a similar manner. 

There are so many uses for pharmacy bottles. They can be used for disposing of diabetes testing items. They can be used for keeping spare change organized. They can be used for storing seeds, beads, sewing items, or other small things. Wash the containers well first. 

 I sewed a sleeve with a drawstring closure that fit over the container. The lip of the container prevents the sleeve from slipping off. It can be removed for washing. The container on the left does not have the safety cap. The glasses inside were too long, thus the need to make something that could hold and protect the glasses from being crushed. 

 I made two. One can keep my reading glasses safe in my purse. The other can keep my other reading glasses safe in the house. 

I also wanted to share what I am doing with my "independent" blocks. I think "orphan" blocks sound sad so I call them "independent" blocks. I will make pet quilts to donate to the local pet shelter. This one would have been donated, but our dog, Jedi, liked it and wanted it. Of course, I gave it to him. :)


Lattice-Pie Potholders. Tutorial link included.


I made some lattice-pie potholders. It was fun and easy. I used a top layer of fruit fabric, a layer of Insulbrite, and a bottom layer of crust-colored fabric. I do plan to make more. In the ones above, I didn't have matching thread and had to use a darker color. 

I have included the tutorial link below. 

http://artthreads.blogspot.com/2012/08/wednesday-sewing-pie-potholders.html

Mason Jar Cover

Here are my mason jar covers. We buy bulk honey from the health food store and put it in canning jars so we don't need the plastic containers that they offer. 

For the project, I used a large mouth canning jar, gold fabric, and black fabric. Ignore the cat. She wanted to investigate my project.

This jar measured 12 1/2 inches. With seam allowances and wanting enough room to hold the jars without the cover being too tight, I rounded up to 14 inches to cut my fabric.

The jar's height measured 6 1/2 inches. With seam allowances, I rounded up to 7 1/2 inches to cut my fabric.

I started with the handle. Cut a strip 4 inches wide by 16 inches long. Fold in half lengthwise and press. Open and fold the sides to the inner pressed seam. Press again.

Then fold your strap over again. Your strap should now look like the above photo and it should measure 1 inch wide. 

Sew along the sides to hold the strap closed.

Since I wanted to make my jar cover look like bee stripes, I cut strips 1 1/2 inch wide by 14 inch long. I cut 4 strips of the black fabric and 3 strips of the gold fabric. Sew a yellow strip to a black strip. Set the seam with a hot iron. 

Press the strip open to the dark side. Sew the rest of the strips together alternating the black and gold strips. You should end up with a block of fabric 14 inches by 7 inches. 

Cut a piece of batting 14 X 7 inches. Cut a piece of fabric for the bottom 14 X 7 inches. 

Layer the top and bottom fabric right sides together. Add the batting on top of those pieces and pin all layers together. 


Sew the layers together at the top. 

Fold the back piece over and press in place. You should now have a finished top edge. Fold in half, right sides together, so the raw edges of the sides meet. Sew and you should now have a circular tunnel shape with a finished top edge. Do not turn. Leave so the right sides are facing in. 

To create the bottom, I used a wide mouth canning jar. The lid is about the same width as the jar. I drew a circle and added about 1/2 inch seam on the outer edge. 

Layer the top, batting, and bottom together. Place the circle on the layers and pin in place. Sew around the circle. 

You should have a circle on the fabric like the photo shown above. I do this extra step because when I am working with so many layers, pinning can be difficult. If I sew the bottom section, I don't need to worry about the layers of that section slipping.  

Cut out your circle. Do not cut through the stitching line. This is your bottom piece. The bottom piece above was cut with 1/8 of an inch border outside the stitching line. 

Pin the bottom section to the circular tube. The right sides should be facing in. Sew together. Do not turn inside out, yet. 

Sew the handles to the bag. The inside of the bag is still facing out (right sides together). Pin and sew in place on both sides of the cover. After sewing the handle in place, turn the jar cover inside out. 

I reinforced the handle by sewing a box and then an X inside the box.  

You now have a finished jar cover. You can use jar covers to create a theme for gift giving. Imagine giving hot chocolate, teas, or other jar gifts with a fabric cover that adds to the festivities.