Really really really simple fudge recipe.

I had a reader email me that she made the fudge recipe without the cream because she forgot to buy it. She said it turned out fine. So I thought that I should give it a try before I shared that it was possible to make this recipe with the change. 

I used two 10 ounce bags of Andes Peppermint flavored chips with 1 can of sweetened condensed milk (14 oz). Then I forgot to add the 1 tsp of vanilla. No one noticed.

The photo above is how it turned out and I got compliments. So now, if you want a really really really simple fudge recipe. It is below.

2 bags of flavored chips (10 to 12 ounces each bag)
1 can of sweetened condensed milk (14 oz)
1 tsp of vanilla (optional)

Gift Wrap Idea


I, finally, ran out of wrapping paper that I bought so many years ago on sale. I also did not have any more of my fabric gift bags that I like to sew through out the year. 

No problem, I saw a Pinterest link about using newspaper as wrapping paper. We don't get the paper. We read on line, but we get so many advertisements in the mail. Since I use the advertisements for other eco-friendly ideas (lining the shelves, wrapping around breakables, and making patterns for sewing) I decided to use the advertisements as gift wrap. I even made a bow. 

I wish that I could give instructions on the bow, but I just winged it and made loops until it look right. I used a glue gun to keep the bow just right. 

Just wanted to share an idea and wish every one a Merry Christmas or season's greetings for whatever holiday that you may celebrate in your home. Hope you all have a great time

Simple fudge recipe


This is my very simple fudge recipe. My family and friends tend to be minimalists and do not like the extras such as nuts in the fudge.

Ingredients:
2 (12 ounce) bags of chips, any flavor that you want. I used chocolate chips in this recipe.
1 (14 ounce) can of sweetened condense milk
1/4 cup of cream
1 tsp vanilla


***Quick note. Do NOT use fat free or low fat sweetened condensed milk for this recipe or it may not set up correctly


Combine ingredients in microwave safe bowl and microwave 1 minute at a time mixing well after each minute. Microwave in one minute increments until all is melted.

Pour in a 9 X 13 buttered pan. Allow to cool. Then cut into 1 inch cubes.

As said, this can be done with any flavored chips. I will make more fudge using butterscotch chips, white chocolate chips, and even peppermint flavored chips.


Tea Bag Package Ideas for the Holidays

Here is a link to a previous home made tea bag tutorial.


This blog deals with the presentation of such a bag.

I make a tea mix that I call Jingle Jangle for the holidays. I use a teaspoon of peppermint tea on one side of the bag and about 1/2 to 1 teaspoon of cinnamon on the other side of the bag. Some people like a stronger cinnamon flavor and some like a milder flavor.

I asked people for advice on ways to present them as gifts and I got plenty of ideas. I am sharing one of those ideas in this blog.


Start by wrapping each tea bag in aluminum foil.


Then used card stock or recycled cards as a protective cover. Cut a piece that would be large enough to protect the tea bag with one fold and then hot glued the paper to seal the tea bag inside. 

Here is the result of recycling a Christmas card to cover the tea bag.


Here is a recycled Peanuts Christmas card. I thought this would be cute for a child, such as my niece.
 

Spiral Meatloaf Idea

For this dish, I suggest that you use your favorite meatloaf recipe and your favorite stuffing recipe.


Just gather your ingredients and start working. I'll share my meatloaf recipe, but it really is very simple and you may want to use a different one. My meatloaf recipe doesn't contain any bread or crackers because I use that in the stuffing part.
 
Meatloaf Ingredients:
2 pounds of ground beef
2 eggs
1 tsp of salt
1 tsp of ground pepper
1 tsp of garlic
1 tsp of Italian seasonings
 
Stuffing ingredients:
1 package of Stove Top Stuffing mix - prepare as per package directions.
1 apple diced
1/2 cup of dried cranberries.
1 egg


Prepare the stuffing as per the directions on the box. Then add the diced apple and cranberries. Add the egg and mix. Set the stuffing aside and start the meatloaf.
 
 
Mix ingredients for the meatloaf.

Place a sheet of aluminum foil on a flat surface. For two pounds of meatloaf, I use about 2 feet of aluminum foil. Spread the meatloaf flat on the aluminum foil leaving an inch of uncovered aluminum foil along the edges.
 
Place the stuffing on top of the meatloaf. Leave 1/2 to 1 inch of meatloaf along the edges to allow for a seal.
 

Lift the aluminum foil so that the meatloaf starts to roll away from the foil. Keep lifting the foil allowing the meatloaf and stuffing mixture to roll onto itself.  

Keep lifting the aluminum foil so the meatloaf rolls up like a jelly roll.  

It is difficult to keep the spiral meatloaf in a perfect spiral, but you will get an interesting dish.

Notice the way the meatloaf has a overlapped. Press to flatten the edge (on top of image).

 Here is an image of the meatloaf from a different angle.

Yes, this is one of our dogs, Padawan, noticing the meatloaf being prepared. The pets will not get any of the meatloaf because of the garlic and Italian seasonings. We had bought a 3 pound package of ground beef. One pound was left unseasoned and we rolled those into meatballs for the fur-babies.

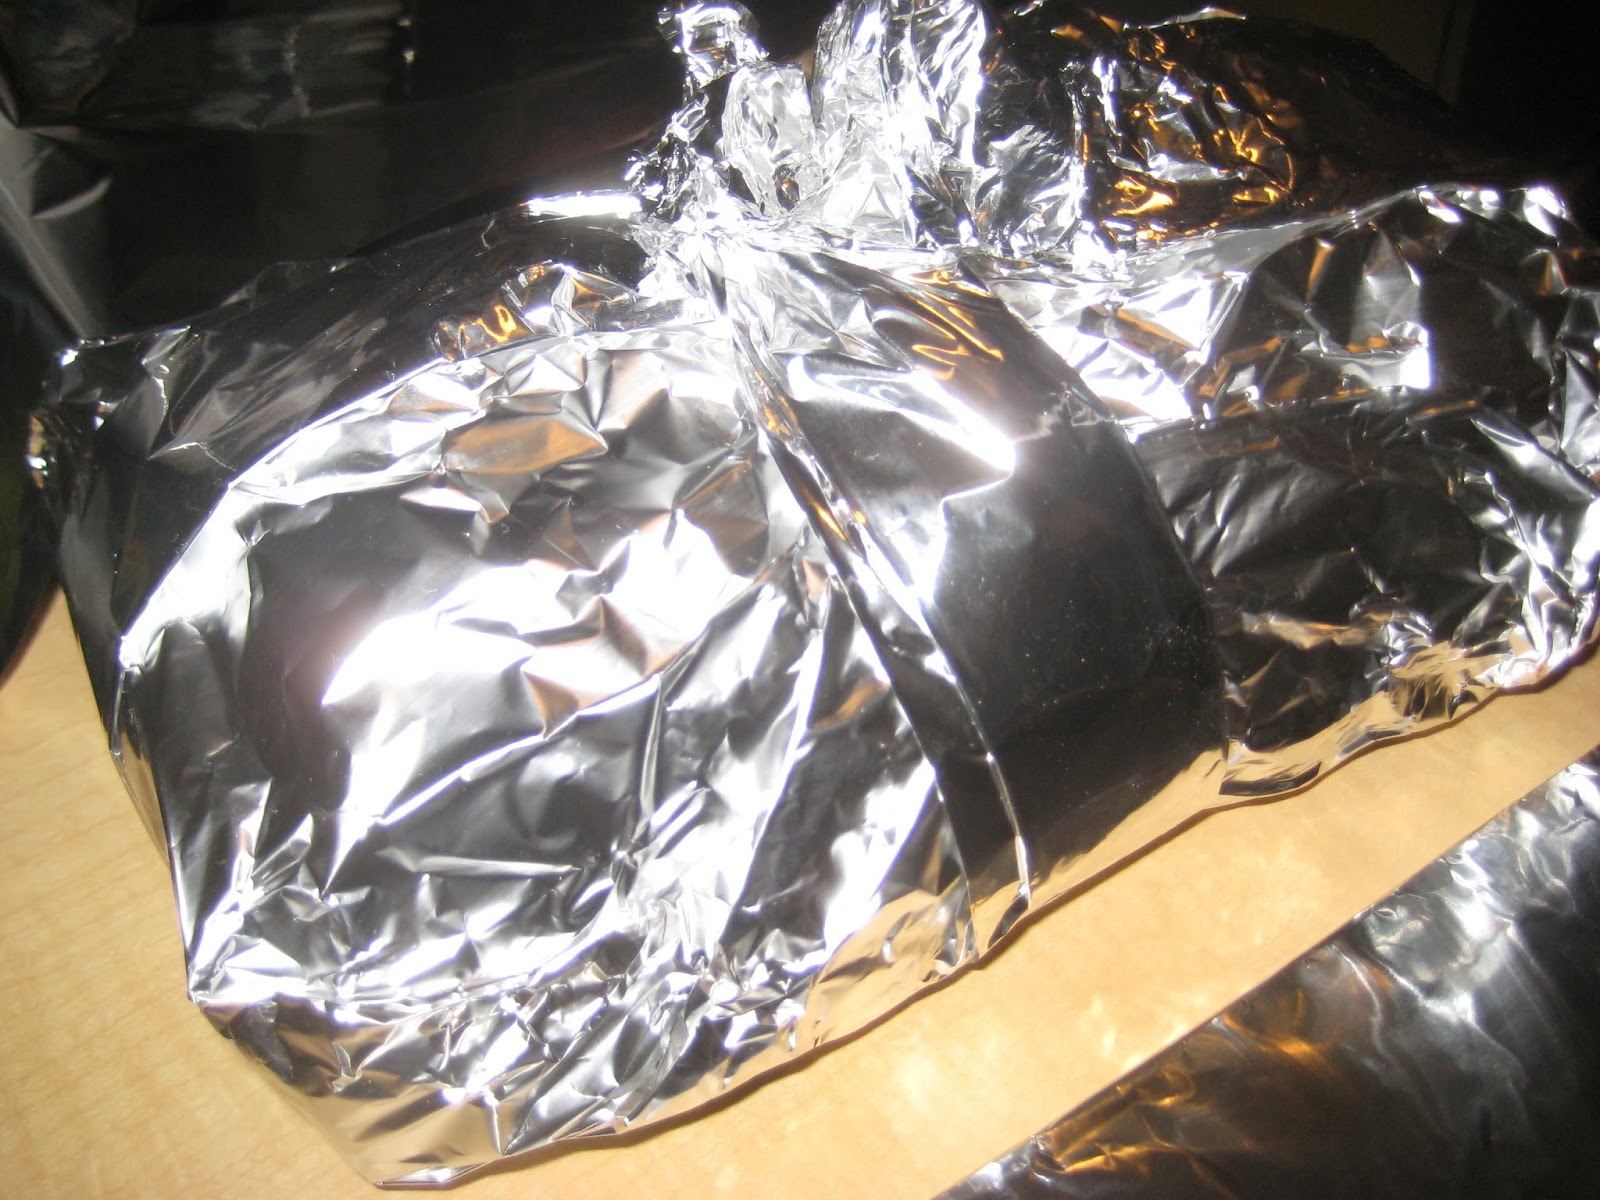
Once the meatloaf is into a roll, fold the aluminum foil to help hold the meatloaf to keep the shape.

Use another sheet of aluminum foil to wrap lengthwise and cover the ends to prevent the meatloaf from falling out of the wrap. Fold that sheet of foil to lay flat against the previous foil.

I had not realized that I was out of cooking twine, so I use more aluminum foil to tie the loaf so that it wouldn't burst out of the foil. As stated, I usually use cooking twine and use three bands to keep my meatloaf secure.

Place your wrapped meatloaf in a cake pan. Bake at 350 for 2 hours. Allow the wrapped meatloaf to cool in the foil for about 15 to 20 minutes so that it can hold the shape better.
  
Cut the meatloaf into one inch thick slices to serve. Enjoy your spiral meatloaf with your favorite side dishes.
 

Progress with Wedge Ruler Experiment


Here is the current progress of my wedge ruler experiment. This is the general layout of the quilt. 

The corners will remain curved, but the other blocks will have fabric added to square them off for easier piecing. (The fur-babies believe that any fabric or quilt placed on the floor is theirs. Here is Padawan inspecting my work.)

The center of the quilt will probably have more of the cheetah print. I like the way it looks and want to showcase it in this quilt. (Notice Mystique inspecting my work. So many supervisors.)

I'll post more as I get farther along on my quilt. 

Wedge ruler experiment

I have been experimenting with a "wedge ruler" to see if I like the effect before purchasing a real one. This block is from that wedge ruler. I do like the effect. I have to admit that this reminds me of a turkey fan tail, which wasn't the look that I was going for, but I still like it. The tip is not as wonky as the photo makes it appear. 

Here is how I created my "wedge ruler". I cut out a piece of paper that I thought was 10 degrees. Nope. Not even close. Who knew that I would need a protractor after geometry class. Instead of needing 9 wedges to create a 90 degree angle, I needed only 7. I also realized that I like sewing in pairs so I need to buy the 9 degree wedge ruler. It will take 10 fabric wedges to make a 90 degree angle which is more in line with my weird brain. 

Finished Baby Quilt "Butterfly Diamond Patch"

This is the other side of the my baby quilt. It is the same pattern as the front/other side but this side includes borders. The diamonds and outer edge is supposed to look purple. This was the closest to purple that I could get those sections to look and it was because I took the photo in direct sun light. (I need a course on blog photography!)


We moved to the side of the house, in the shade, and the purple sections look more navy colored. I had thought of appliqueing the baby's name on the quilt, but decided against it just in case this last long enough to be shared with another baby. 


Here is the "front" that I finished first. This baby quit will be a gift. I will include a few pieces of fabric for future repair when I give the gift. That way, if there is any rips or pokes, this can be fixed with the same fabric that it was made with. 

I will include some heart shaped or other fun shaped patches to give the family for additional repair options. These can be used to cover stains as well as fix any holes that may occur.  


Top of Baby Quilt is Finished

This square 4 1/2 inch section is one out of nine smaller blocks that make up the one bigger block.


This is the bigger block with the nine smaller blocks put together. In addition to the previous block image, there are four squares of the butterfly fabric and one of the yellow square. 


Here is the finished top of the baby quilt.


Here is a close up of the finished block in the quilt. I'm not sure why, but the diamonds are actually purple, but show up in the photo as navy. 

Now, to work on the back. 


Onward with my project of a baby quilt

Okay, I got all my pieces cut for my quilt. I did that one day.


Today, I glue basted the purple and pink triangles. I know the photo looks washed out, but the top triangle is pink. I will start to sew them tomorrow. 

My new project

Here are the fabrics that I plan to use to make a baby quilt. It will be the same design, but different colors and dimensions, as the pet quilt that I made. That photo is below. 


Microwave cooking hint

Microwave cooking hint: To cook multiple dishes at one time, you can stack glass cake pans crosswise. 

The bottom  pan contains a couple of chicken breasts seasoned with pepper. The top pan contains fish with pineapples.

Gift bag made from a cereal box.

The items needed:
Empty cereal box
Glue, spray or other
Wrapping paper or fabric
Cord or twine for handle
*Cat optional-he wanted his picture taken.


Close the top of the box and glue. Allow to set.


Lay box on side and cut off the top (side) for the opening.


Cover the side of the box on the inside with the wrapping paper. Repeat for the opposite side.


Cover the inside front and back of the cereal box.


Now start to wrap/cover the outside of the box like you would a present. Leave the opening uncovered.


I used tape on the sides to help hold it until the glue set.


Poke holes in the box about 1/2 to 1 inch from the top for the handles. Insert the cord or twine and tie a knot in the end so the handles do not slip out.


Now you have completed your gift bag!