
No Sew Christmas Wreath

Supplies Needed
Straight pinsGlue
Styrofoam shape-circle
Ribbon for hanging
Fabric: 2 inch fabric squares*
Optional:Items for embellishment
*The number of squares needed is determined by 1) the size of your circle and 2) how close the squares are inserted into the Styrofoam.
You made benefit by the use of a thimble if pushing the pins causes soreness on your fingers.

There is an added step you can do for preparing your wreath.
Cover the Styrofoam shape in fabric to hide any “whiteness” from peaking
through and to give the glue on the pin an extra thing to hold onto.

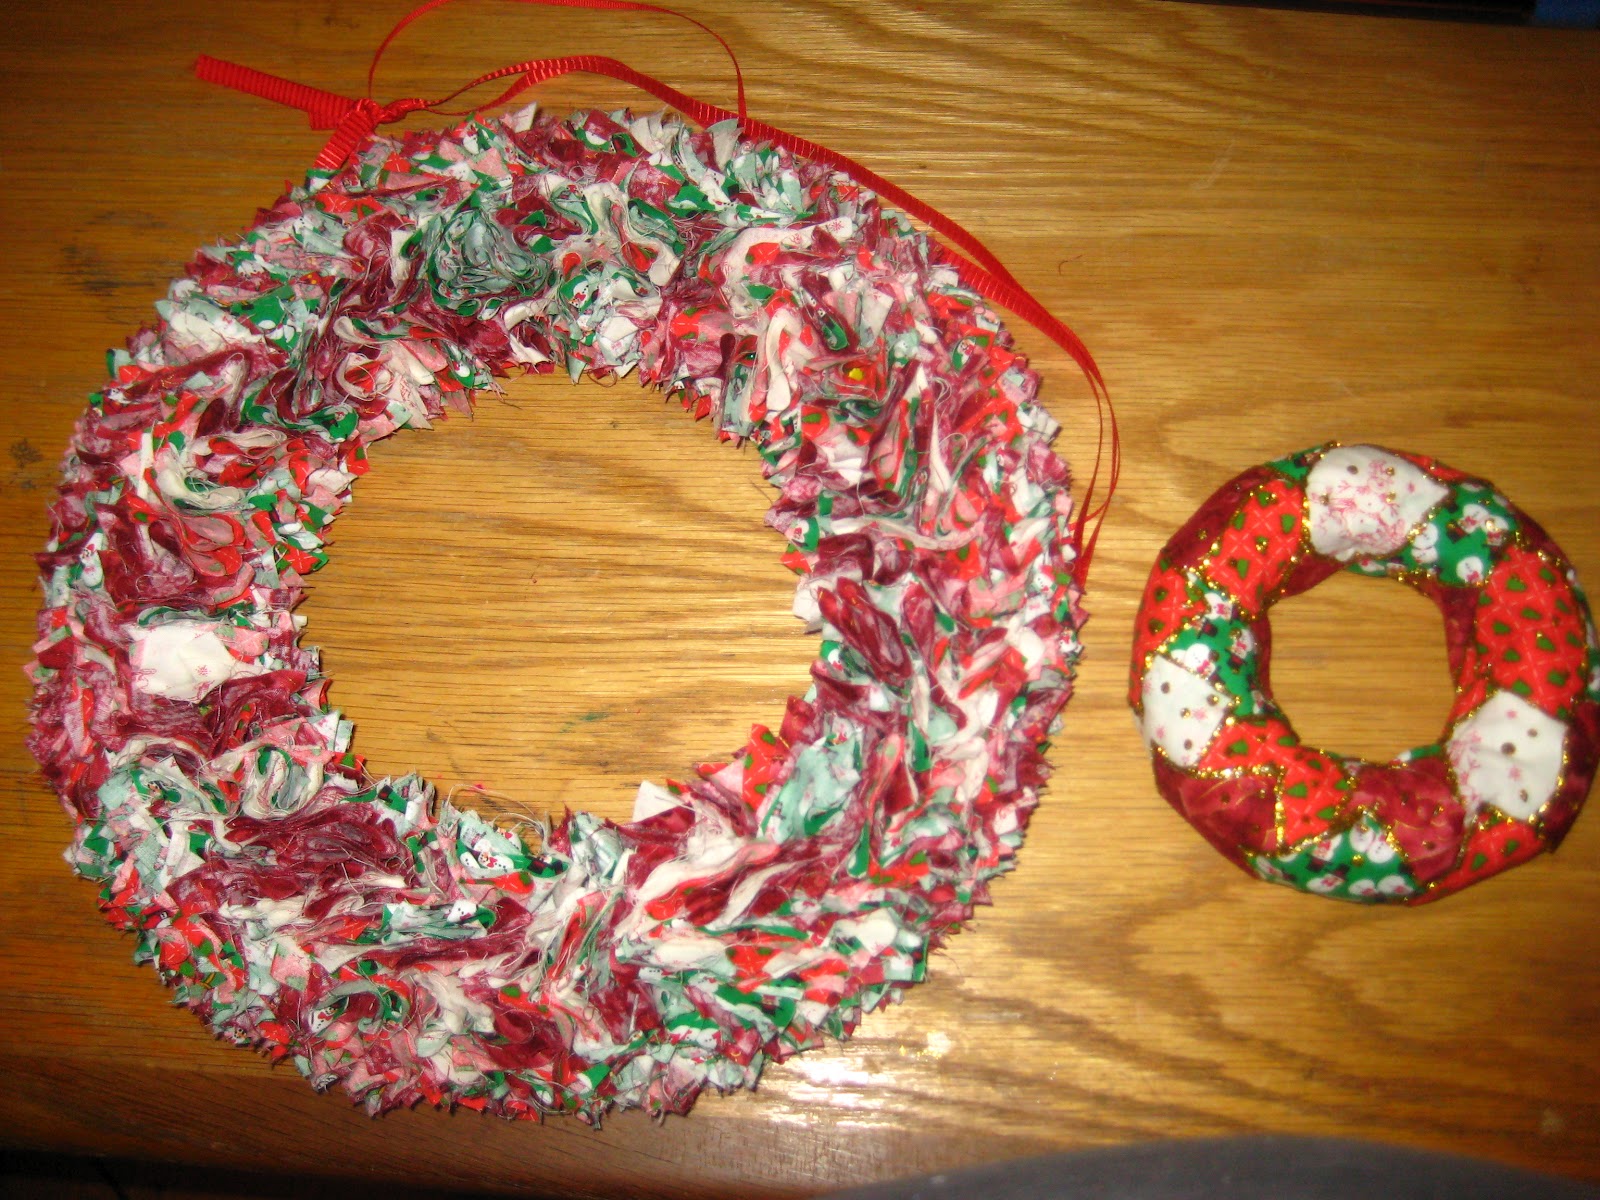
Start by placing your ribbon in the spot for hanging it up
after it is finished. The pins of fabric will hold the ribbon in place. This will also help you in determining the top if it is necessary for your pattern.

Cut the 2 inch squares of fabric. One fabric pattern can be used or many can be
used. Insert the squares in any way you wish, random, rows, columns, or a particular pattern. This wreath was made with 4 different Christmas fabrics in a random pattern.


No comments:
Post a Comment