
This is a tutorial for the 3 inch square Post-It Notes.

Materials needed:
Stiff fusible measuring 3 ½ inches by 8 inches.
Outside fabric measuring 4 inches by 8 ½ inches.
Inside fabric measuring 4 inches by 8 ½ inches.
Pocket fabric measuring at 3 inches by 4 inches.

Use the 3 inch Post-It to mark where it will sit on the
stiff fusible by drawing lines at each end of the Post-it. Then turn the
Post-it and mark the thickness for each end. Press and fold on the lines.
There should be four lines. I used blue ink so you could see the lines, you may
wish to use a lighter color.

Mark the inside fabric as you did the stiff fusible. Use the
Post-It to mark where it will sit and mark it the way you did the stiff
fusible. Fold on the lines. Use a marking pen or marking chalk that will
disappear easily.

Here is the fabric that will make the inside pocket to hold
the Post-It. I wrote the 3 inches and direction arrows in ink for the tutorial.
Don’t do this or you may see the ink marks after the cover is finished.

Mark a ¼ inch mark at the top of the pocket liner.

Fold to the wrong side of the fabric and press. Sew in
place.

Place the pocket across the bottom line of where the Post-It
will sit. Put the fabric right sides together and have the pocket facing downward. You will fold it up to
create the pocket. Sew in place 1/8 to ¼ of an inch from the bottom edge of the
pocket piece. (Hope that didn’t sound confusing. Perhaps the photo will clear
it up.)

After sewing,
fold up so the right side is facing up. Press. Next, you will align this up on
the stiff fusible.

Secure the inside piece onto the stiff fusible per
instructions. I fold like I am wrapping a present.

I use bamboo skewers to hold the fabric near the hot iron to
prevent burning my fingers.

After the inside fabric is attached to the stiff fusible,
the pocket piece will still be loose. I glue baste the pocket into place. You can pin it or secure it any way that you wish.

Place the outside piece onto the fusible and secure per the directions of the fusible. Ensure that the
edges are folded under to create a finished edge. Sew 1/8 to ¼ of an inch from the edge on all sides to secure the top and bottom fabric pieces, including the pocket.

The first one that I made, I made a mistake and had to trim
the back flap of the Post-It pad to make it fit the cover. The others were
fine.
Slip the pad in place and you have a Post-It cover. The one above closes
with Velcro. I didn’t take photos of this, but I did of a later one.
I have included some alternative ideas in the following
photos.

For one, I used a piece of
lace to keep the pad in place. I didn’t sew a pocket, but secured the lace in
the same spot the pocket would have been. This is the image from the back
before the top is in place.

Here is how it looks from the other side. A ribbon, eyelet,
or other straight piece of fabric could also work to hold the pad in place.

Here is the pad sitting in the lace. I gave this to my
friend.

Instead of Velcro, I used a small hair tie and button to
close this cover.

I used chalk to mark the thickness of the pad.

Instead of just folding, I sewed along the fold lines. You
may like this result better than just folding.
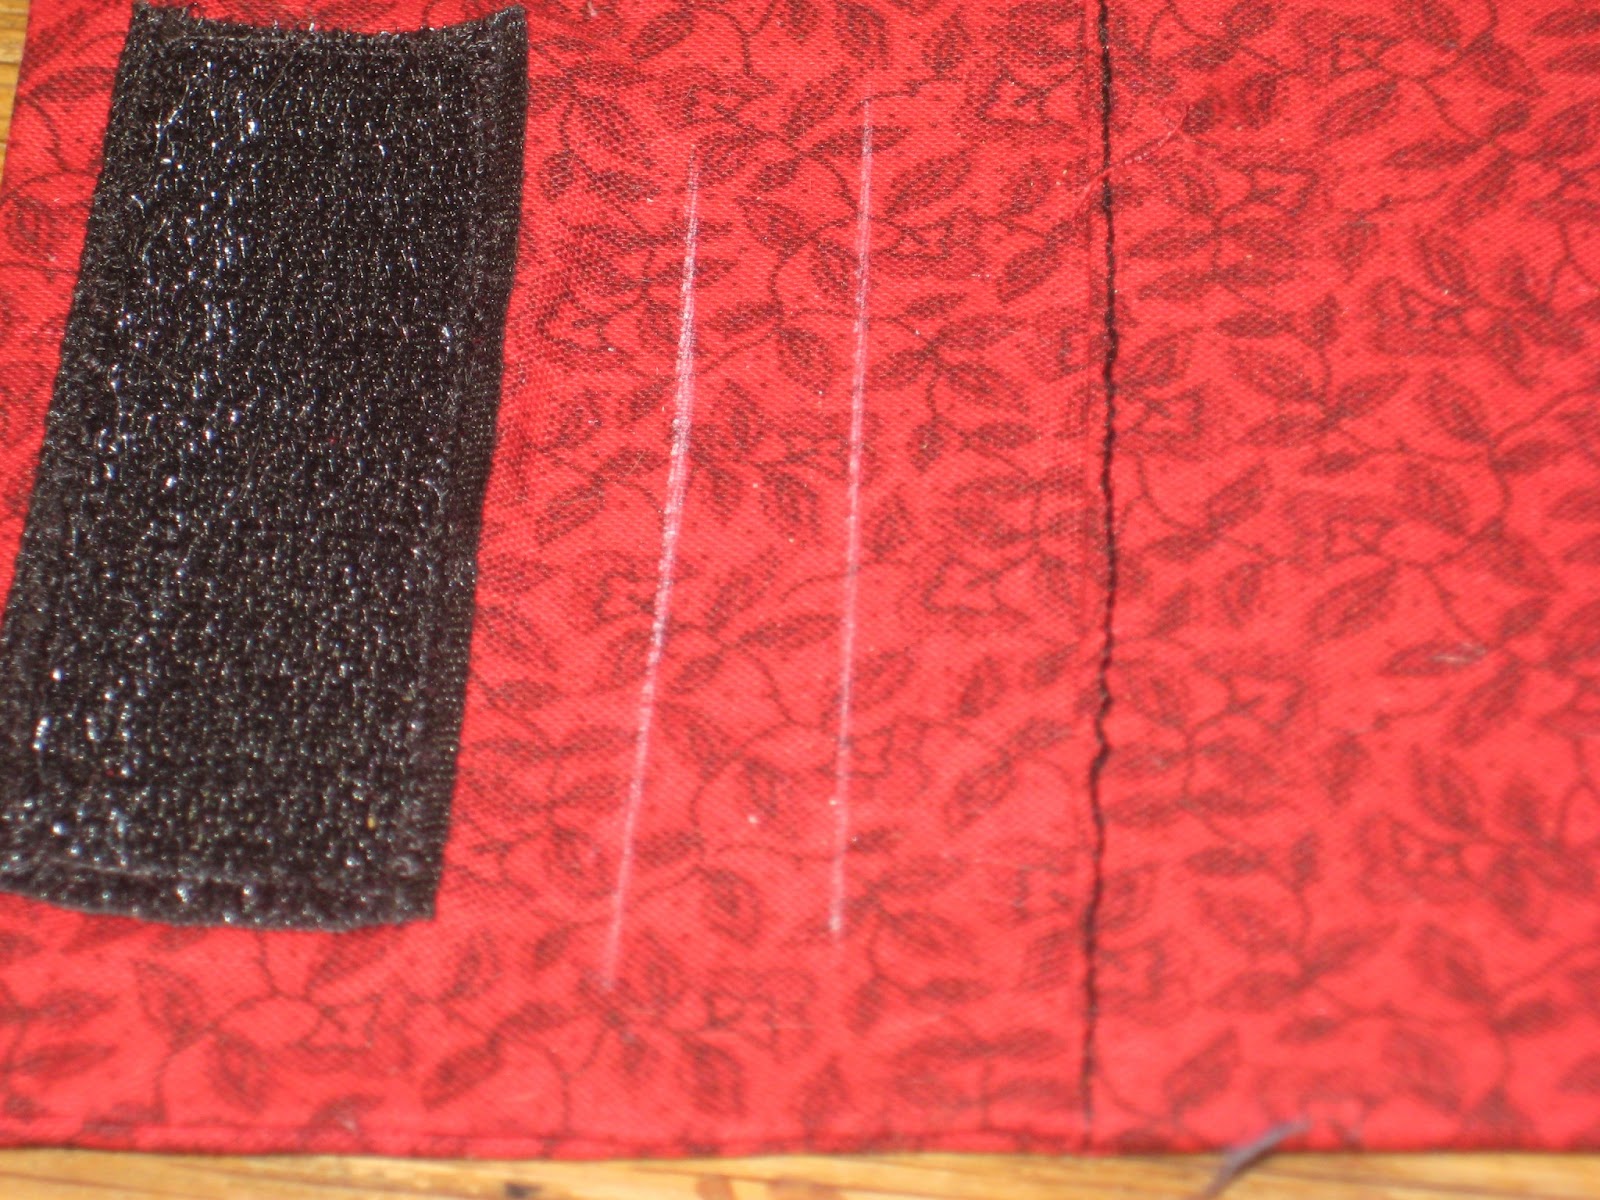
Here is an image of the Velcro. I placed it about ½ inch
from the fold lines on the inside. Then I added the other Velcro on the other
end on the outside. That way, when it folded, the Velcro strips lined up and
could be pressed closed.
Now, you have a Post-It pad cover. These can be made for any
occasion depending on the fabric used.
You can make these as party favors or thank yous. If you use
white or a cream satin, it can be used as gifts for bridesmaids. If you use baby
themed fabric, they can be used for a mother-to-be or as thank yous for a baby
shower. With a little embellishment or embroidery, these can be made for Mother’s
or Father’s Day.
Think of other holidays, heart fabric can me these cute
ideas for Valentine’s Day. Christmas Fabric can make these cute stocking
stuffers.
That is nice! Thanks for sharing this.
ReplyDeleteYou're very welcome. Thank you for reading my blog.
DeleteI love this! Great gift idea!
ReplyDeleteIt still amazes me how you come up with these amazing ideas. Thank you for sharing your wonderful ideas and tutorials with us.
ReplyDeleteIt's still amazing to me how you come up with these wonderful ideas. I really would love you to be my next door neighbor!! Thank you so much for sharing your talent and tutorials with us.
ReplyDeleteI would LOVE to be your next door neighbor. I do not have anyone living close that likes to craft or sew. As soon as my health picks up, I'll join the local quilting guild. Then, I will still have to drive a distance to be with like minded people.
DeleteI would love to have a neighbor like you. Imagine all the crafting, drinking tea/coffee, and gifts that we would get done. :)
VERY nice! Thanks!
ReplyDeleteThank you so much for reading my blog. I am glad that you enjoyed it. :)
DeleteThanks for posting this.
ReplyDeleteLove this. Thanks for posting.
ReplyDeleteYou're welcome and thank you for reading.
DeleteI love your ideas for little cute items for gifts. Would you mind if I printed these off 4 my Quilt group we always to a quick gift program in Sept.
ReplyDeleteThanks for the ideas
Donna
You are more than welcome to print off anything from my blog. I wouldn't post them if I didn't want people to use the ideas. :)
Delete