Showing posts with label tutorial. Show all posts

Individual Serving Tea Bags and Coffee Bags Tutorial


This tutorial will show how to make your own single serve tea bags and coffee bags from loose leaf teas and ground coffee.

There are two different ways to make the bags. The one of the left, uses a quarter of a coffee filter. The one of the right basically uses one whole filter. The idea behind the one on the right is to utilize as much water flow as possible for the tea or coffee.

The first part of the tutorial will show how to make the bag on the left. The last part of the tutorial will show how to make the bag on the right.


Start with ¼ of a coffee filter.


Fold in half.
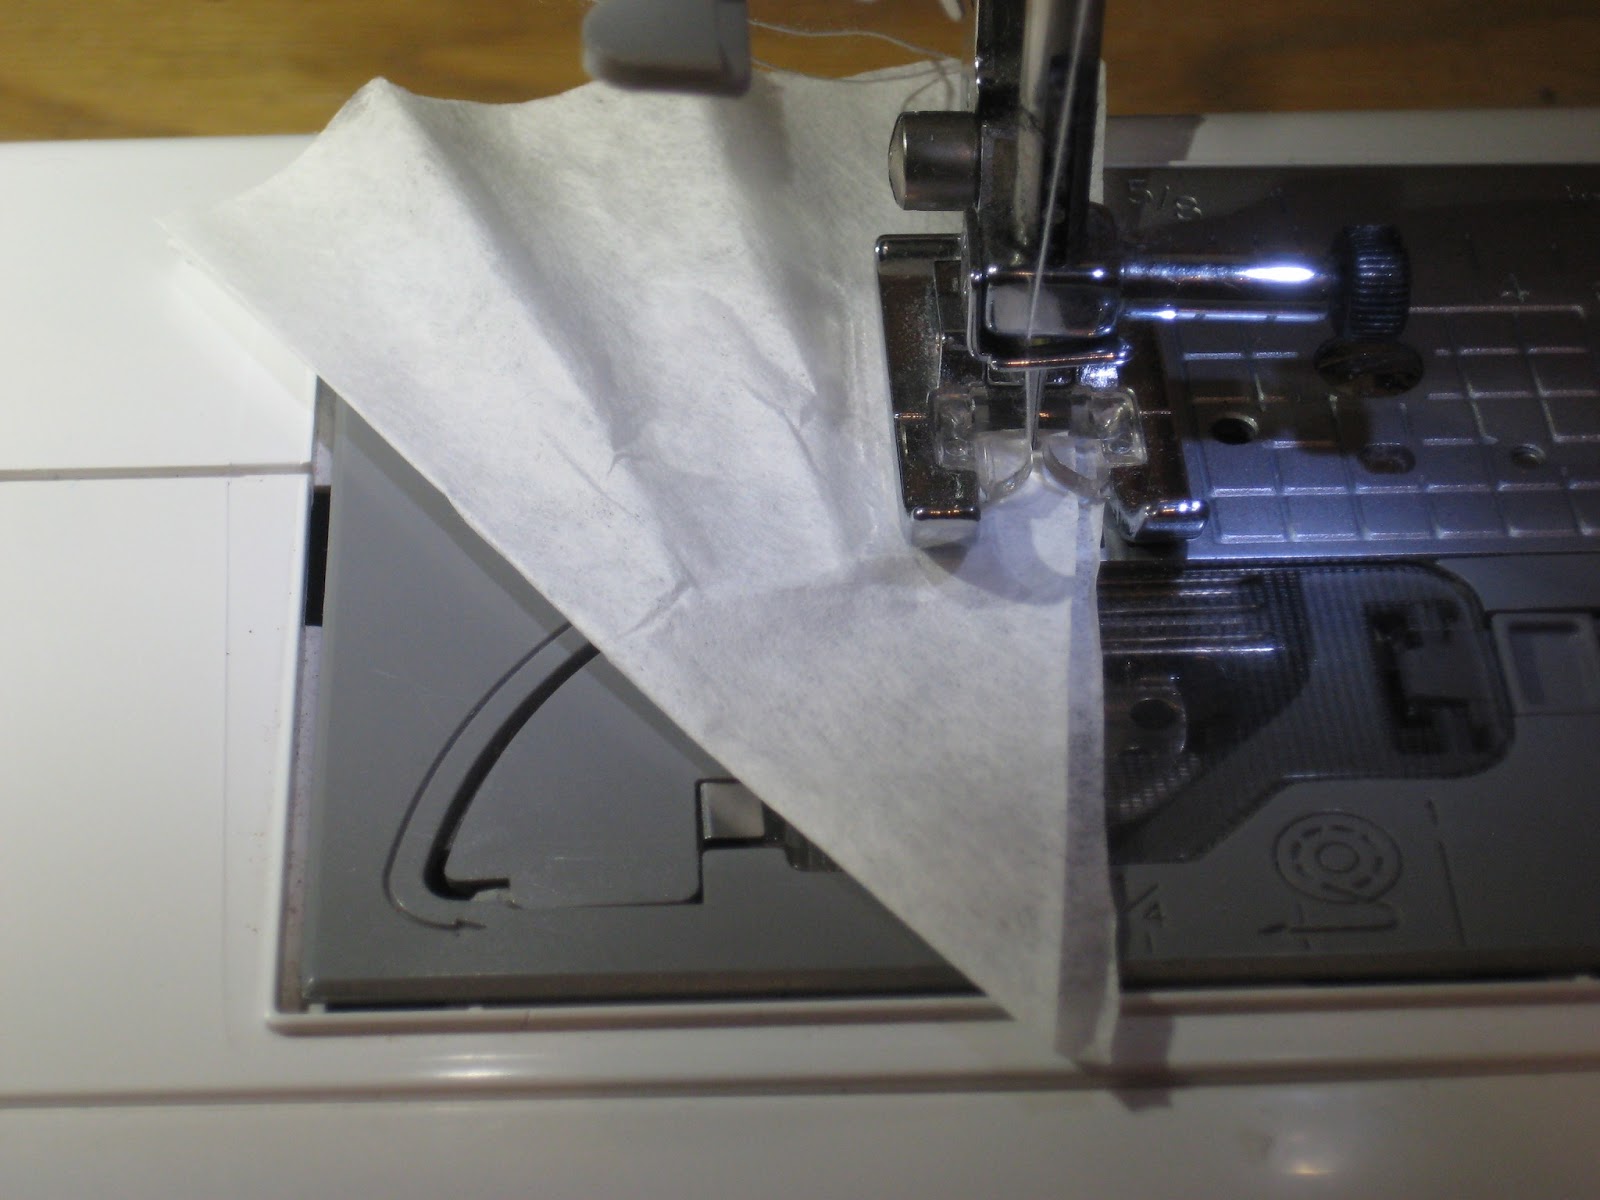

Sew the sides together. Remember to back stitch at the beginning and the end or your leaves and grounds may work their way out.
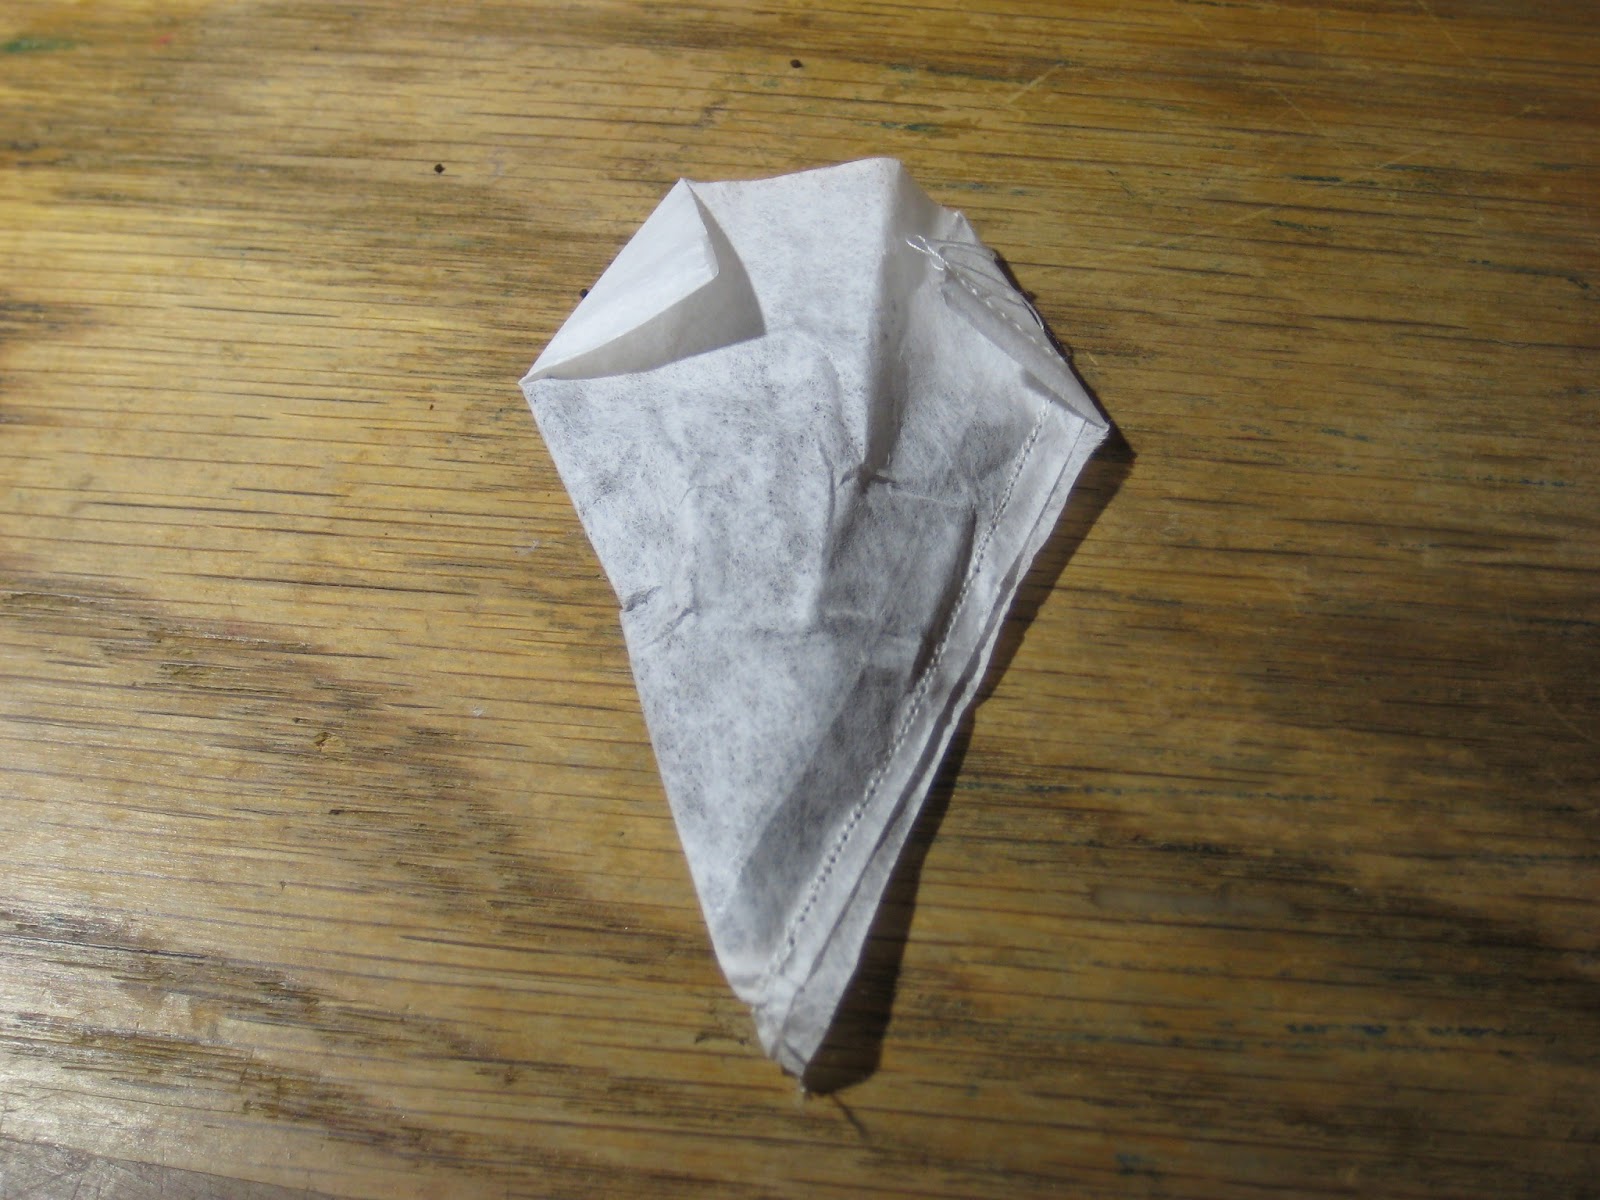

Trim off excess thread. Fill with your coffee or tea. Fold the top corners down.


Fold the remaining top down about ¼ of an inch. Then fold again.


Sew the top in place remembering to back stitch at the beginning and the end. Do NOT cut the string. It will be used to connect the paper so you know what is in the bag.


Pull the string about three inches. Do NOT cut. Place a square of paper under the presser foot. Zig Zag so the paper is now attached to the bag. I do not back stitch the label paper. There isn’t a lot of stress on it and if it falls off after the bag is in my cup, I already know what was on it.


Now cut the thread and write the contents of the bag on the square of paper.


For the rectangular bags, sew a tube by folding the filter in half and sewing a straight line about two inches from the fold.


Trim off the excess paper filter.


You should have something that looks like the photo above.


Roll the paper so the seam is on the top and fold to flatten.


Fold in half so the seam is on the outside.


About half an inch on both sides of the fold, fold the filter back over the seam. You should now have the seams on the inside facing each other. This will allow the water to flow better and allow your tea leaves to expand for better infusion.


Fill one side of the bag with tea or coffee. You can fill both sides if you want a stronger brew which means double the amount of tea or coffee that you add.


Fold the top (open end of the tea bag) corners down like in the photo.


Fold the remaining straight top edge down so it meets the bottom of the triangle folds.


Fold the whole section over again.


Sew the top in place. Remember to back stitch at the beginning and the end. Do NOT cut, yet. Pull the bag so that it is about three inches from the sewing foot. Sew a piece paper under the foot so that it is now connected to the tea bag.


You should have something that looks like the above photo. Trim off any excess threads. I tend to do this on the bag, but not the paper. Write the contents of the bag on the paper. 


This is what your finished tea bag should look like.

You can use any coffee filter that you would like. So spend as much as you would like or be as thrifty as you want. 

Portable Ironing Pad Tutorial


Here is a tutorial on how to create your own portable ironing pad. This is for those smaller projects that you don’t need a full size ironing board.  This also recycles an old car sun shield.


For this project you will need:
Fabric
Insulbright or other insulating batting
Extra regular batting
A car sun shield with a center of foam, not the bubbles.

First determine how big you would like your pad to be. I decided to have one for my quilting blocks.  So I wanted 17 X 22 inches. Cut the insulbright and batting to 17 ½ inches by 22 ½ inches.  Cut the fabric to 38 X 23 inches.


Press 1 inch fold on the 17 ½ inch sides. Then fold over another 1 inches on each of those sides. Iron and sew. This will give you the finished edge after everything is sewn.

Lay the insulated padding against the wrong side of the fabric. Make sure to position the padding so that it will be in the correct position after the other side is folded over so the finished edges meet.

Then place the other batting over the insulated batting. Pin and quilt both battings into place.


Fold the fabric in half so right sides are together. Pin marking the 17 1/2 inch side to remind you NOT to sew them shut. I differed the pin positioning and also added red pins to remind me not to sew that side shut.  

Sew the other three sides. I did add a line of stitching on the fold to ensure that the batting stayed in place and didn't creep in future use.Trim away excess bulk.


Turn the ironing pad inside out. Slip the car sun shield inside making sure the shiny side is facing up. This will prevent steam from getting to your table. 

I suggest that this side be left open so you can remove the sun shield for washing or if you need to add a different sun shield after wear and tear. If you really feel the need to close it, then I suggest using a few tacking stitches that can easily be removed.


Now you have a finished ironing pad that you can use on a table or desk for smaller projects. I have washed this on gentle in the washer and it has held up fine. I will safety pin the open side closed next time, though because a sock got trapped in it.

Mug Cozy Tutorial


You will need: Fabric for front and back of cozy; Matching or contrasting thread; Batting (insulated or non-insulated); Buttons; And elastic hair ties.


Start by measuring the width of the cup. Choose the widest part near the middle. I measure my mugs through the handle as that is where the cozy will snuggle the mug. This will give you the length of the fabric. Remember to add seam allowances. Since this craft doesn’t require the cozy to be strong, I only used a quarter inch seam allowance on each side for a total of an extra half inch.


Then measure the height of the mug. This will give you the width of the cozy. Remember to add seam allowances. Again, I only used a quarter of an inch on each side.


Cut your fabric into 2 strips based on your width measurement (plus seam allowance) and the length measurement (plus seam allowance). Cut batting into strips based on width and length measurements without seam allowances. So your fabric will be bigger than the batting.


Place fabric right sides together. Center your batting on the top fabric (this should be the wrong side up) and pin in place. (It doesn’t look like it in the photo, but there is a seam allowance on the other side that doesn’t show.)


Sew lengthwise alone one edge of the batting approximately 1/8 of an inch from the edge of the batting. Trim off excess seam allowance. Trim up to the batting.


Turn the fabric pieces over so they sandwich the batting. The right sides should now be facing out. Fold the bottom fabric over the batting and pin in place. Then fold the top fabric so the folded edge meets the bottom fabric fold. Pin in place.


Sew lengthwise along the edge approximately 1/8 of an inch from the edge to stitch the side closed. I use the quarter inch foot and move the needle so that it sews 1/8 of an inch from the edge.


Now your cozy should be a tube open on both ends.


Fold the edge under ¼ of an inch so you will have a finished edge. Pin in place. Center the elastic band and pin in place. I found it easier to use one center pin to keep the elastic in place and two pins on the sides to keep the band closer to the center spot. Sew approximately 1/8 of an inch from the edge to seal the edge and to secure the elastic band.


Next add the button(s). Place the cozy around the mug and stretch the elastic to a point where it will hold the cozy snugly, but not too tightly. Mark that spot with a pin or marking pencil. Sew a button to that spot. I included a second button for decoration and also so I could use it with another sized mug.


The cozies can be angled on the ends so they fit through the handle better. I thought that the asymmetrical shape of this one would help it fit into the handle and keep it centered on the mug.


Here are the three mug cozies that I created today. The ends on each are different so I can experiment and decide which works better. They make inexpensive gifts. Embellishments and embroidery would personalize each. (I need to save up for an embroidery machine.)


Here is the finished product with the mug.