
This is a tutorial of a simple covered box. There is no
sewing involved. You will need fabric, Elmer’s Glue, a hot glue gun, batting, a
cardboard shoe box, and notions for decorating.
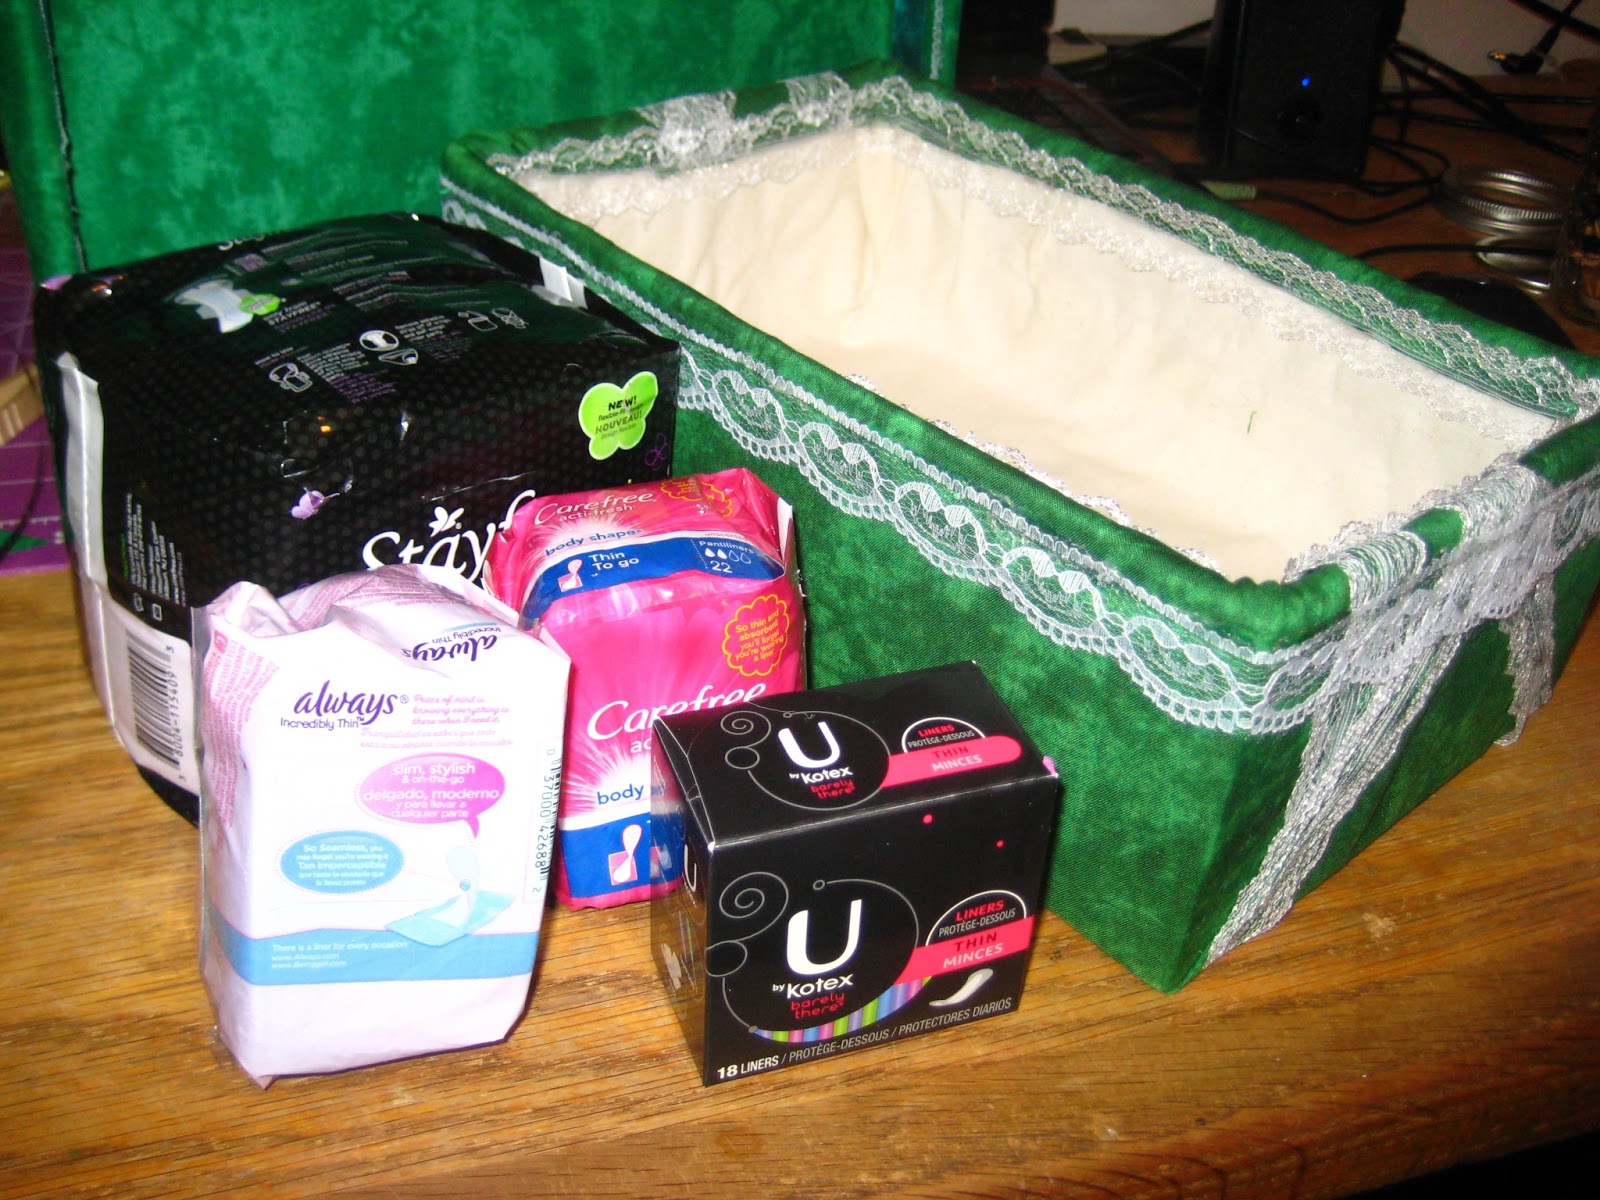
This is called the “Girl's Growing Up Box” because it is made for
my niece who is growing up. It is filled with feminine hygiene supplies. It
will also have a book about a girl’s changing body and there will be some
chocolates as well.
I made one for my first niece as well. The most surprising thing she said was that she appreciated the book the most. It gave her a lot of information that she had questions on, but had been too embarrassed to ask.

First, start by covering the outside part of the lid and the
inside part of the bottom of the shoe box with batting. Do this by spreading
Elmer’s Glue in a thin layer over the cardboard. It is helpful to use something
to smooth out the glue or you will be able to feel the beads or raised line of
glue after it dries. You can use a fast drying glue as well. Let the glue dry
and set.
You may want to use pins to secure the batting until the
glue dries. In places that batting is not used, clothes pins may be used, otherwise
the clothes pins may form dips or impressions in the batting.

Then cover the outside of the bottom of the box and the
outside of the top of the box with fabric. Use the Elmer’s Glue the same way as
you did in the previous step. Make sure to smooth the glue to prevent bumps
after drying. Allow the glue to dry and set. I use clothes pins in to hold the
fabric in place because I put this fabric on before putting on the inner batting.

Once you have glued the batting and fabric to cover the box, inside and out, then use lace, ribbons, or other notions to cover the seams. I used hot glue to secure the lace over the seams.


Here is the finished box ready for use.
No comments:
Post a Comment