
This project was a way to use
food bags and turn them into totes. We buy a lot of pet food and I wanted a way
to use the bags in a fun project. I also used the big bag of M&M’s for a
small snack bag type of thing. I gave it to my niece after having filled it
with her favorite candies.

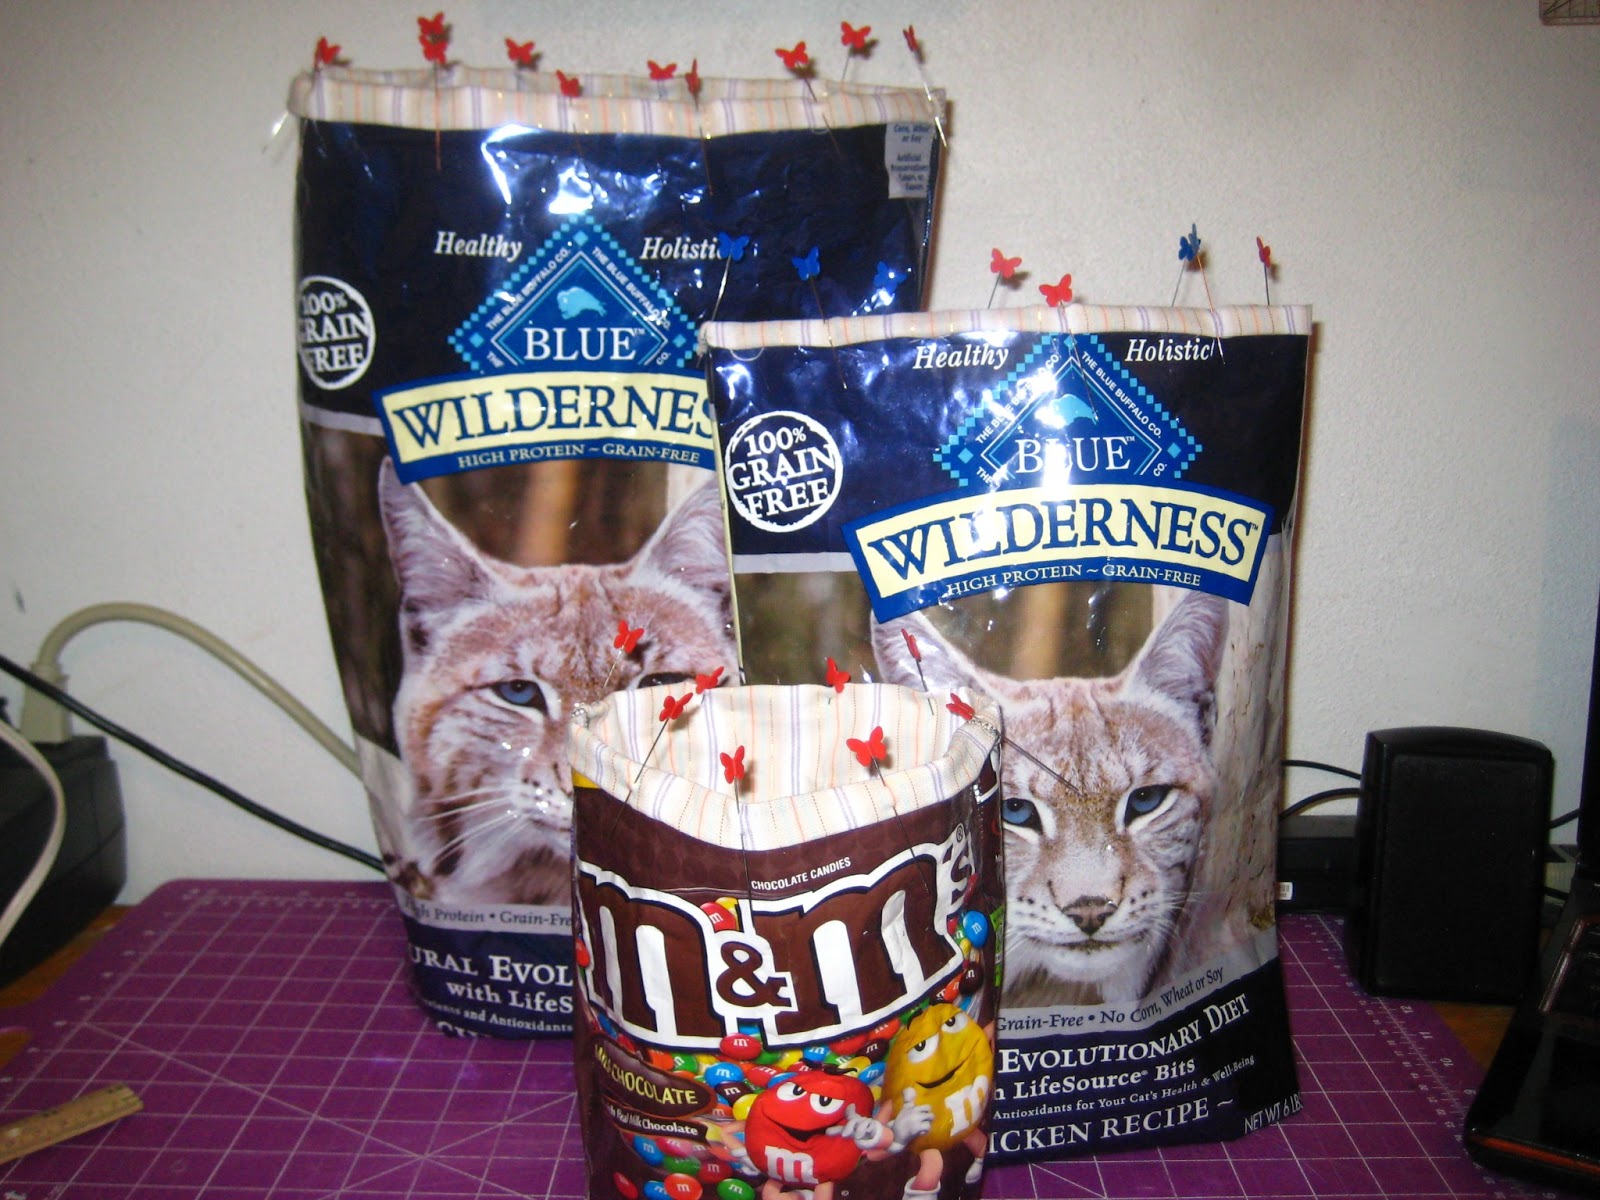
Start by trimming your bags in a way that you
can clean any food residue that may be on the inside.

After cleaning the food bags, measure the length and width
of the bags. Make sure to cut the lining fabric with a comfortable seam
allowance. On some projects, I will use a quarter inch seam allowance, a half
inch seam allowance, or even an inch seam allowance. On this project, I used
half an inch on the sides and an inch on the top so I could fold the lining to
the outside to create a half inch trim at the top of the tote bag.
Pin the sections, with the right sides together so that the
lining is the only thing showing. You should not see the recycled bags.

On these, I started at the top of one side, sewed down the
side, across the bottom, and up the other side. Then I dog-eared the bottom.
Take the inch of fabric at the top of the tote and fold over
½ inch and press. Then repeat so that there is a half in binding at the top of
the tote.

For the handles, I used a three inch wide piece of fabric.
Determine the required length of the handles, include the amount that you will use
to secure the handles to the bag and multiply by 2. (I was making so many bags
that I just cut a couple of long 3 inch strips and cut off what was needed.)
For comfortable handles, add a one inch wide strip of
batting in the center of the strip. Secure in place.
This is one of those places that if you have a favorite way
of making handles, then use the tried and true method.

Fold one side of the strip over and press. Fold the
remaining side so the edge will be finished and press. Make sure you fold it so
that it will cover the batting completely. Fold over the batting and press. I
folded my handles in a way so that my stitches would run down the middle of the
handles. On some of the handles, I used a strait stitch. On others, I used some
of my decorative stitches.

Position the handles so that the stitches that secure the
binding will also secure the handles. If you plan to use your tote for heavy
items, sew the handles in a way that can hold the weight. Some use an “X”
shaped stitching pattern to add strength.

Here is an image so that you can see how the handles are
attached to the bags. For what we carry in the bags, this will be strong
enough. Otherwise, I would have secured them in a manner to hold the extra
weight. No need in having anything break because the handles failed to remain
attached to the bag.

Here are the finished bags. The pet bags are made from a
metalized plastic. So if they need washed, they could be washed on a gentle
cycle. Because they are a plastic, they cannot be placed in the dryer.
The M&M’s bag is just plastic. If it needs washed, it
will be hand washed and then allowed to air dry.
Have fun sewing!
How much would you charge to custom make one for someone?? I ask because I would need one with special pockets in it to hold certain items i need to carry with me.
ReplyDeleteHow wonderful to ask such a question, but unfortunately, due to my health problems, I cannot take special orders because I am unable to determine if I would be able to work on any such projects. I craft when my body allows. Sorry. Perhaps you could get a friend to make one for you and put in the special pockets.
DeleteI understand about needing special pockets. I make my own totes and purses so I can add everything that I would need.